If you want to take stunning images of your product, you need to know how to set up lighting for product photography. Using a reflective umbrella, using card to illuminate your product, and setting up a backdrop can all help make your products look more attractive. You should also keep in mind white balance settings. In this article, we will cover these topics and more. So, read on to learn more about how to set up lighting for product photography.
Reflective umbrellas
Before you begin using a reflective umbrella for product photography, you should understand how to set them up. First, you’ll want to choose a backdrop. Make sure you choose a surface that reflects light in a pleasing way. Dark, slate surfaces will give you the look you’re going for, while light from a white or light-colored umbrella will give you a more subtle effect. Experiment with different Surface combinations.
The next thing to consider is the position of the bulb. You want the bulb as close to the umbrella reflecting canopy as possible. This way, the light will be reflected directly toward your subject, instead of all over the studio. If you’re using an umbrella with a bulb at one end, make sure you place it about halfway down the shaft, as the bulb will not bounce light enough toward your subject.
Whether your product is in a studio or outside, a reflective umbrella will make it stand out from the background. These umbrellas bounce light off their interiors, adding a cool, neutral tone to your photos. There are also a variety of models that can mimic reflective umbrellas, from the classic to the extravagant. If you’re looking for something a little different, try a silver umbrella instead.
Convertible umbrellas offer an even more versatile solution. You can choose to use a reflective umbrella for product photography, or a shoot-through umbrella for more dramatic effects. You can also try using a convertible umbrella – a white diffusion umbrella with a removable black cover. This will bounce light back in the same way as a reflective umbrella, but allows you to shoot through the umbrella and use it for a normal shoot-through instead.
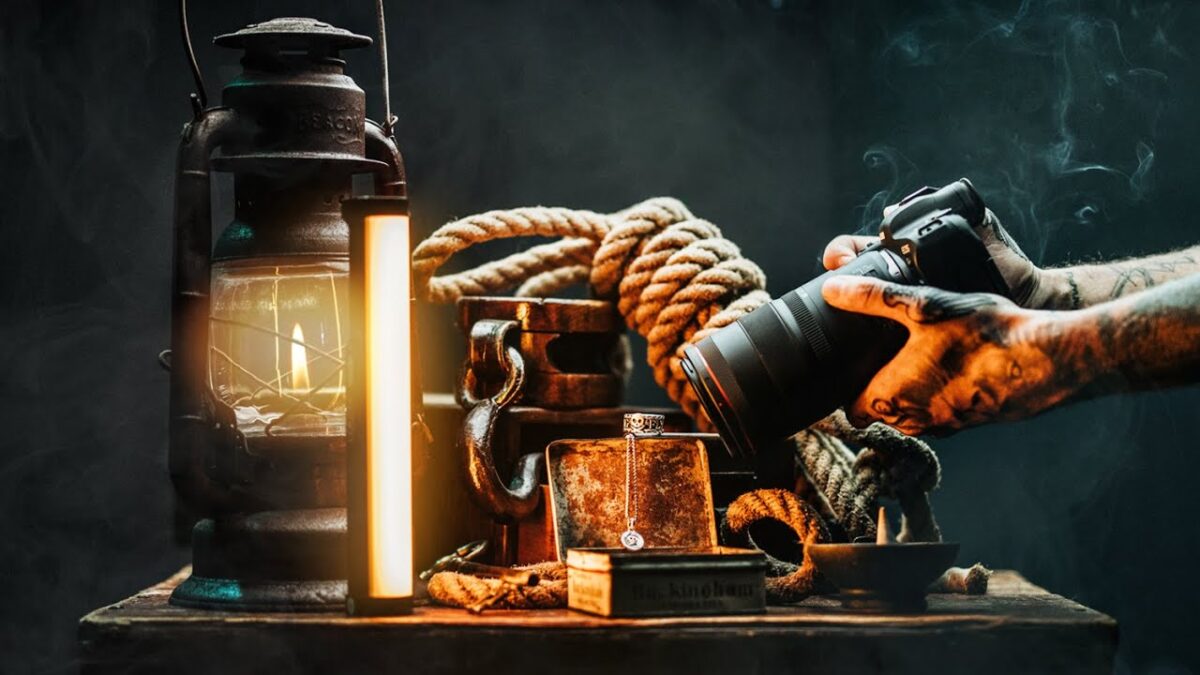
Natural light
Taking natural light for product photography is crucial. Too much light will ruin an image. However, if you are willing to make some adjustments in post-production, you can get away with using just the available light. In this article, I will cover a few tips for natural light product photography. You will be glad you did! And remember, it is free! Read on to learn more! Hopefully this article has been helpful to you!
There are many advantages of natural light for product photography. It is simple to achieve, and you don’t need to invest in any expensive equipment. With a little creativity, you can capture the look you’re after and save money. Natural light pictures make customers imagine their product in their minds and are much more likely to be bought than images that don’t show the product well. Natural light images are also ideal for e-commerce websites because they make products look more appealing.
Natural light is free and available for all. It is the best option if you don’t have a lot of money to spend on flashes or studio lighting. However, natural light is unpredictable and will change from day to night. You should pay attention to the area where you are planning to shoot and take notes of the times of day when the light is ideal. So make sure to plan ahead and get the best lighting possible.
Using natural light is essential for product photography. However, if you can’t access natural light in the room where you want to take the photos, you can always use artificial lighting to enhance the look and feel of the photos. You can also use a white background for product photography, but it’s still best to use natural light wherever possible. It can be safer than using artificial lighting. However, be sure to always test your lighting before you use it in any pictures.
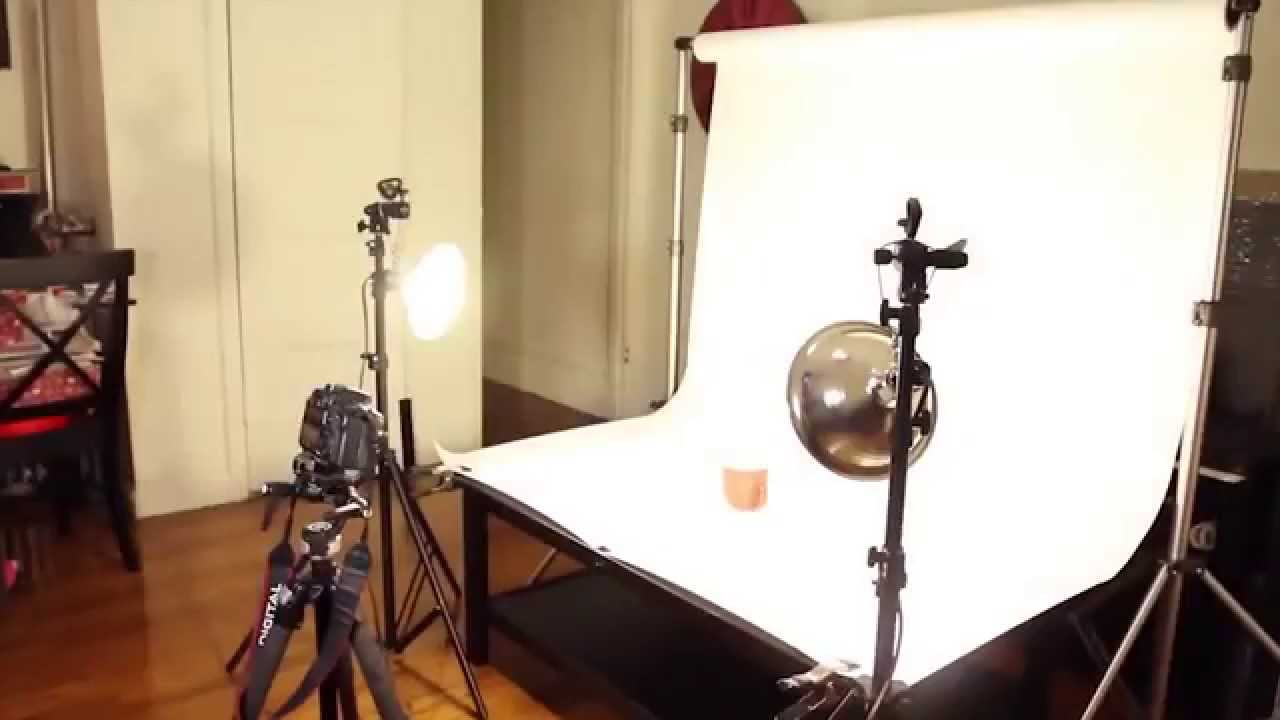
Setting up a backdrop
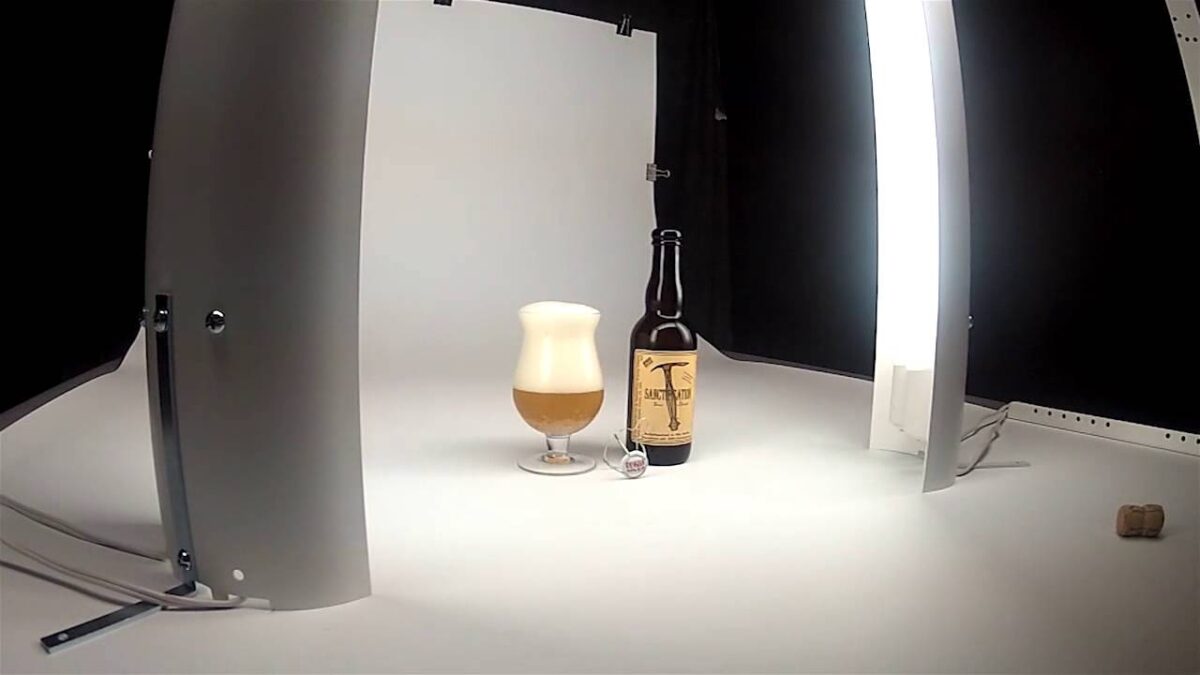
There are several steps to setting up the lighting for product photography. First, make sure you have a white wall to place your backdrop on. Lights are important for product photography, because they create a nice, even lighting for your photos. The angle of the sun should also be taken into consideration. Shoot your products when the sun is low, just before it starts to descend. This will give your shots a more even light. Also, remember that each product will require different lighting conditions, so you should make adjustments accordingly.
After setting up the lighting, you must carefully position the product. Keep it centered in front of the backdrop, preferably a flat, stable surface. Some items, such as jewelry and accessories, are better displayed on a bust or shoulder. Those with a unique design may need to adjust their product to look their best. For smaller products, glue dots or hangers can be used to hold them in place. If you do not have a model, consider using a team member to act as a prop.
If you are shooting a product online, make sure your background is white to make the product look more appealing to buyers. White backgrounds are ideal for displaying products, but some brands have very specific colors that make them difficult to photograph properly. It is important to pay attention to the colors in your pictures to ensure that the product is as realistic as possible. This is especially important for product photography because customers will buy your product based on the image you have created.
Lastly, you must have a solid and stable surface to set up your backdrop. You can use a foam board or white paper to create a backdrop. A white background will make your product pop and give your images a clean, professional look. It also makes post-processing easier and faster. If you are shooting your products from an angle that can’t be seen through the background, you should place a light behind the product.
White balance
Proper white balance is an essential part of product photography. It can change the overall mood and realism of the image. Using the wrong setting can damage the customer’s experience and trust in your eCommerce store. This article discusses various ways to adjust your camera’s white balance to make your images more appealing. Read on to discover the best method for your products. Listed below are some of the most popular options for photographers.
The process of adjusting white balance includes three key steps. First, you need to determine which light source is most suitable for your photo. A good way to do this is by setting the camera’s white balance to a neutral value. The neutral setting is a good first step before retouching and enhancing. By doing so, you will ensure that the colours in your photographs are as accurate as possible. After you have set the white balance, you can manipulate it to your liking.
Once you’ve determined the best exposure, you can adjust the white balance for your photographs. While most smartphones don’t have the white balance feature, most photo editing software allows you to manually adjust the temperature of your images. To do this, select a camera with a temperature adjustment tool and experiment with the settings. You’ll find that you can get some creative shots that way. Just remember that it’s better to experiment with a white balance that works for you.
When it comes to choosing the right white balance, experience is the best guide. Expert photographers know how to make the most out of the white balance feature in their camera. Expert photographers also have the expertise to correct the white balance in post-production. To find the perfect white balance setting, you should switch your camera’s white balance dial from auto to manual. Using the white balance function in automatic mode may be fine for everyday photographs, but it won’t be ideal for photos of products.
ISO filters
Using ISO filters to reduce noise is important if you want to achieve the best product pictures. ISO settings refer to the sensitivity of your camera to light. The lower the ISO, the less grainy and bright the picture will be. Increasing the ISO will introduce more noise to your image, so you should always use the lowest ISO setting. In product photography, it is best to start with the lowest ISO possible to avoid over-exposing the photo and getting it too dark.
If you have a natural light source, you should use ISO 200 – 800. Higher ISO values will force you to use a higher shutter speed, which will compensate for the narrow aperture and minimize noise. But if the light is low, or you want to use artificial light, you may need to increase the ISO setting. Optimal lighting conditions can last until 4 p.m., when artificial light may be present.