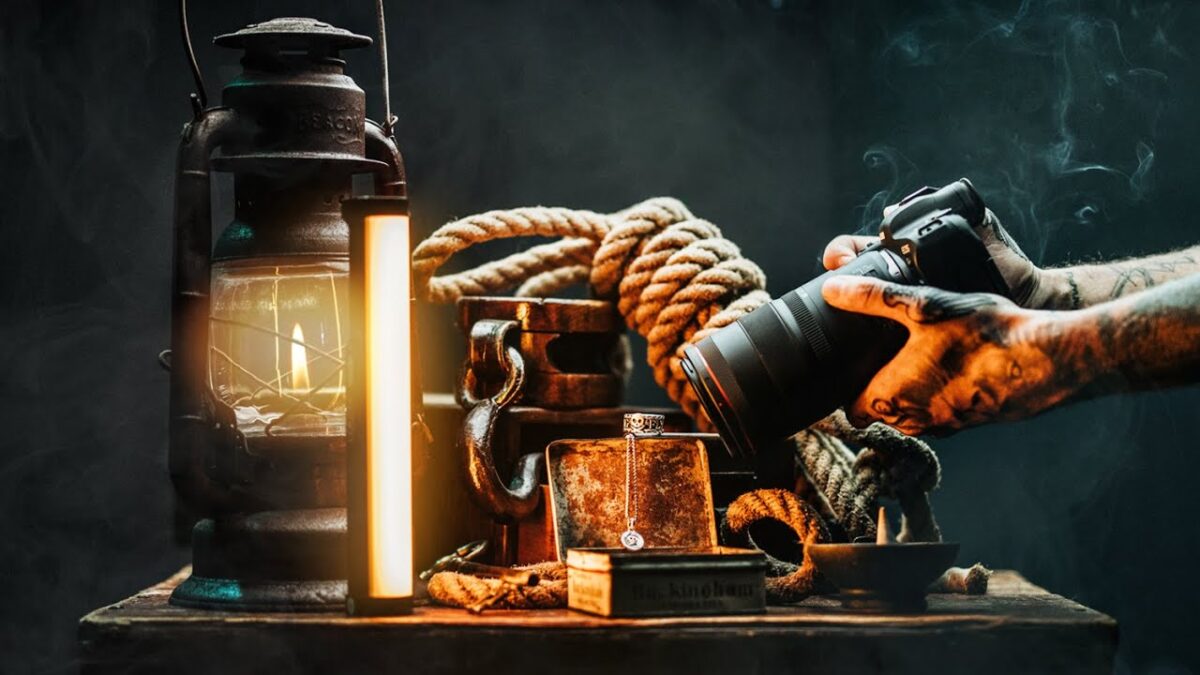
If you want to learn how to shoot product photography, it helps to have some tips. Getting close to the product is crucial for creating sharp images. If possible, use a tripod and a flash. And make sure to use a seamless background to prevent blurry photos. Below are some tips to get you started. Also, make sure to use a tripod for product photography. Hopefully, you’ll find this article helpful.
Getting closer to the product
A systematic approach to product photography will improve your pictures. Make sure to organize your studio. Make sure to remove obscuring tags and inspect every product thoroughly for defects. Having a high-quality product photograph is essential to capture even minor flaws. It’s also a good idea to prepare your product beforehand so you can easily identify it in the photos. If your product is similar to many other products, preparation is vital to capturing the best shots possible.
In addition to accuracy, a high-quality product photo can help your customers to easily recognize it and decide whether to buy it or not. Proper lighting and angles are essential for displaying colors and proportions. It’s also important to get close to the product to capture small details. These two goals are interrelated. An accurate product photo will make customers want the product, while an informative one will make them buy it. When done properly, a great product photo will increase sales.
As a retailer, you have to invest in high-quality product photography if you want to increase your sales. The quality of your visual content is a deciding factor in your online store’s conversion rate. Fortunately, there are many methods to take better product photos. For instance, you can take a photo from your phone. In addition to improving the product’s image quality, great product photographs also boost your reputation and reduce returns.
Using a tripod
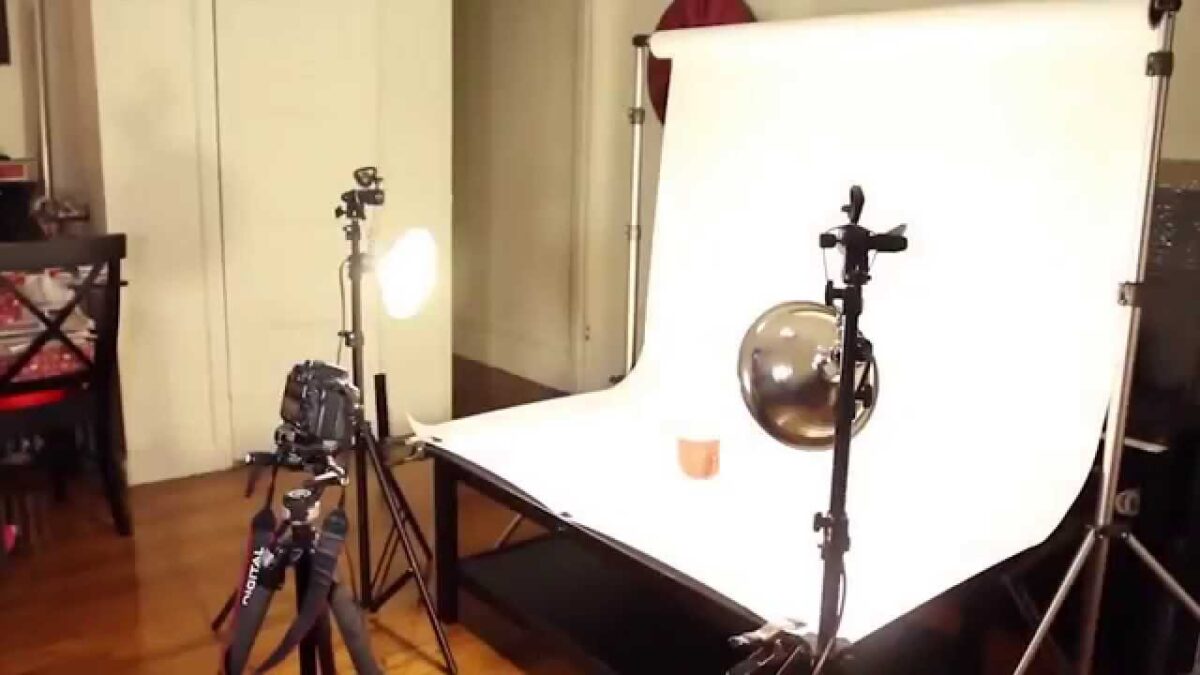
When you are shooting for product photography, the most important thing to keep in mind is a stable surface. This is particularly important if you are shooting with a low-aperture lens, which requires a slow shutter speed to ensure sharpness. You will find it very difficult to hold the camera still while shooting in this setting. To avoid blurring the photos, use a tripod. Here are some helpful tips for using a tripod when taking product photos.
– Check the height of the tripod. Tripod legs are adjustable, and most models have reversible center columns. You can also buy a tripod with one leg removable, making it a tall monopod. Tripod legs are usually equipped with sturdy ball heads and quick-release systems to prevent them from slipping. If you have a large camera bag, you should also consider a tripod that is compatible with a ball head.
– Tripods are great accessories for product photography. Not only do they help create clear, high-quality images, but they also help stabilize the camera. Stabilization is directly related to sharpness. Stabilized pictures will be more detailed and sharper than pictures that were shot in an unstable position. Similarly, a tripod will allow you to take clear pictures of objects that aren’t stable enough to be seen from all angles.
– Consider tripods with built-in levels or hooks for camera bags. These can make a huge difference in the quality of your pictures. A tripod that is too unstable will cause problems during your product photography. – Consider the adjustability of the feet. If you need to adjust the legs, they should have knobs that can be turned, allowing you to adjust them according to the height of the product.
Using a flash
When using a flash for your product photography, make sure you get the right color balance. According to a study by the University of Idaho, 55% of customers won’t return a product because of the difference between the color of the item in the photograph and the product itself. Aside from the color balance, you also want to avoid warm and cool lighting for your pictures. Using both warm and cool lighting can lead to problems during post-production, and the colors may not be as accurate as you would like.
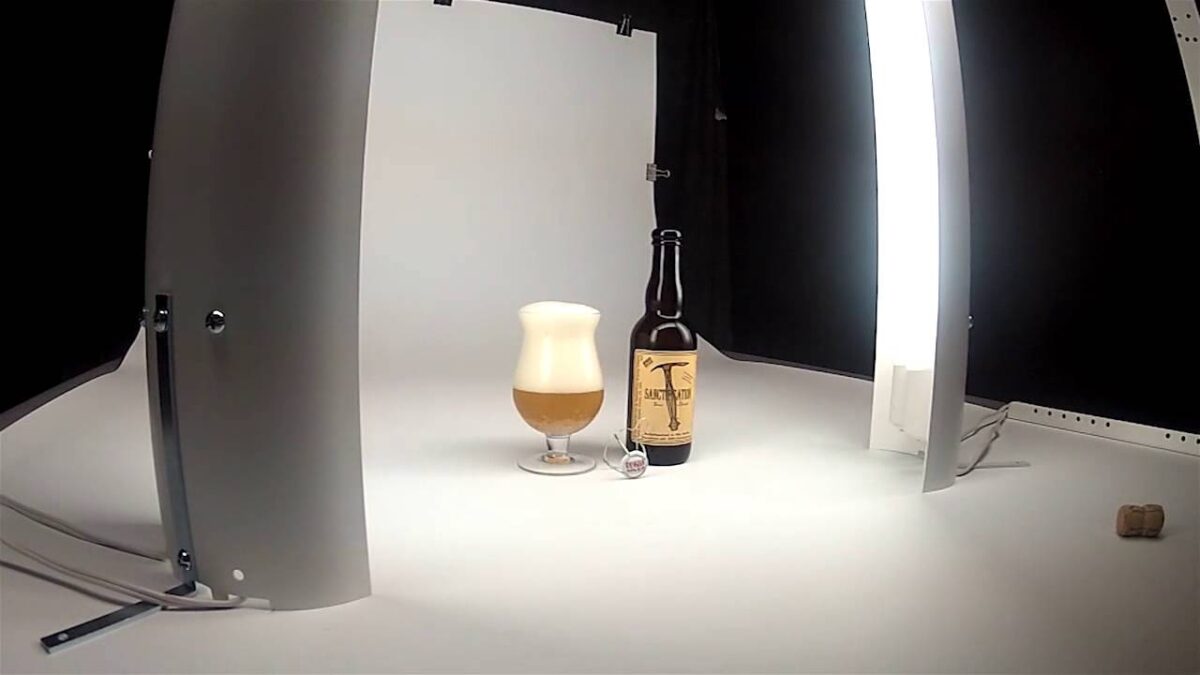
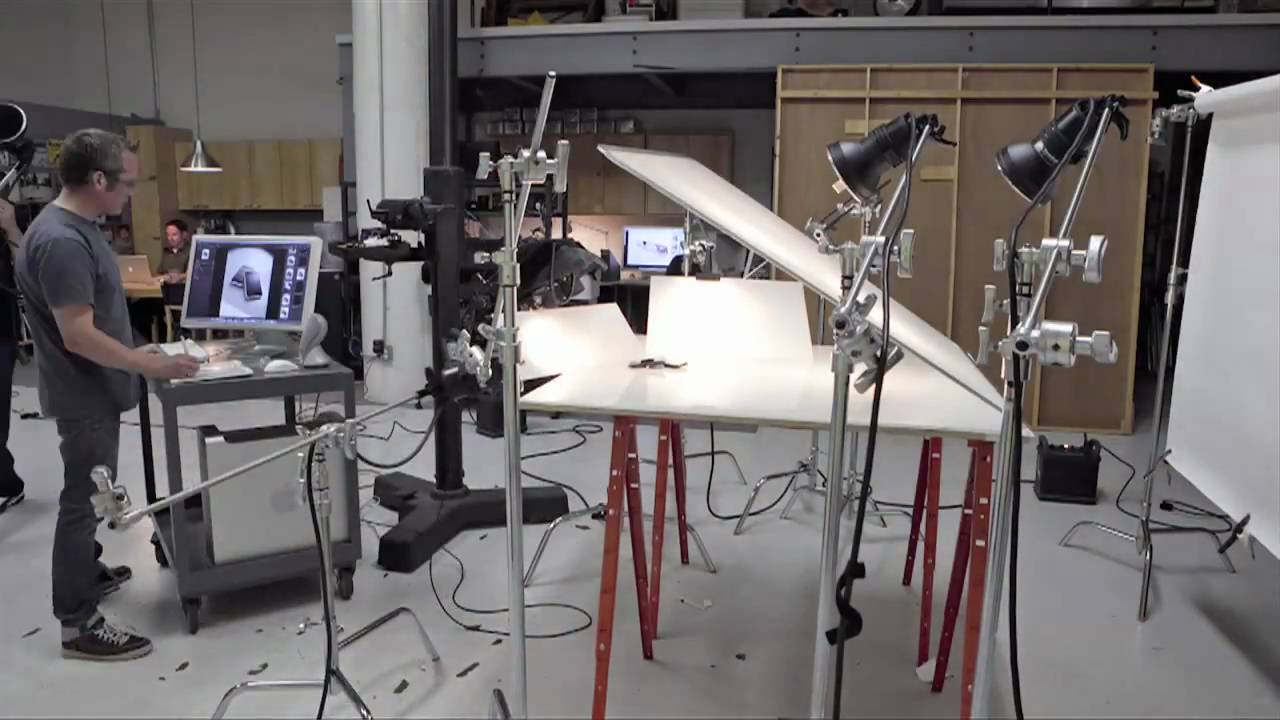
Using two lights, or a combination of two lights, can produce a better result than natural light. These two lights can be of different sizes, shapes, or positions. The different lights can also be adjusted to adjust the amount of light they produce and keep the overall lighting consistent. Additionally, you can use light stands to keep your lights in place. You can use diffused lighting to make your photographs look more natural, without creating harsh shadows.
Whether to use a flash or natural lighting depends on your goals for the image and the type of product you are photographing. If you want to avoid fluorescent light, try to photograph the product in the morning or evening. Natural light helps the products look more natural and is ideal for most purposes. Regardless of your choice, you will benefit from knowing how to use manual mode on your camera and how to control your aperture. A smaller f-stop number means a larger aperture.
Another type of flash is called a strobe. It’s more powerful than a standard flash, and is usually associated with professional photography. Then there are speedlites, which are smaller versions of strobes. These can be mounted on tripods and are battery-powered. If you’re not using a strobe for your product photography, you can use a speedlite instead. It will work as a studio light and also be useful for splash photography.
Using a seamless background
When taking photographs of products, the first step is selecting the right backdrop. Pairing the right background with the product is vital for maximum sales. Seamless paper backgrounds are a good choice for product photography, because they provide large, smooth surfaces and are non-reflective. This type of background can be reused many times, and can be purchased in various colors for as little as $25 per roll. Read on for more tips on choosing a seamless background for product photography.
An acrylic sheet is less flexible than paper, so you might need to secure the backdrop with painter’s tape or a step stool. Make sure the product is perfect before shooting it. Don’t let the backdrop distract from the product. Whether you are taking a photograph of a shoe or a bag, make sure it is perfect before shooting it. If it’s a big purchase, you may also want to take a few shots of different angles of the product.
One of the best reasons to use a seamless paper backdrop for product photography is that it provides a seamless background. The seamless paper background is easy to use, and you can easily change it depending on the look you want. But keep in mind that it can be difficult to carry and can be easily damaged. To make sure your photo shoot is as smooth and professional as possible, use a seamless paper background. There are several different types of seamless backgrounds on the market.
If you’re looking for a cheap way to create an excellent backdrop for your product photos, consider using seamless paper. This type of backdrop is more durable than vinyl or muslin. But it’s also not as cheap as a canvas. Some photographers tear off the used end of a seamless paper backdrop after every shoot, which can increase its value over time. However, if you take care of the background properly, you can prolong the life of the backdrop.
Getting a high depth of field
In terms of the composition of your image, getting a high depth of field is critical to your finished photo. It can make or break your image, and can even make the difference between a successful photo and one that falls flat. There are several ways to control your depth of field. The first and easiest method is to adjust your camera’s aperture. A smaller f-stop number means that more of your photo will be in focus, while a larger f-stop number will make the subject appear more distant.
When shooting product photography, you should keep in mind that depth of field can be confusing, especially if you’re not sure about the settings of your camera. A shallow depth of field helps you focus on a specific subject, while a high depth of field highlights interesting details. Depending on the subject of your photo, you might want to set your lens to its widest aperture or shoot in very close proximity to make the subject appear closer to you.
The next step is to determine the depth of field you need. This is a tricky area to master but it is vitally important to get the right look. Increasing the depth of field will help isolate your subject from the background. Alternatively, a shallow depth of field will isolate your subject from the background, and a high depth of field will allow you to make everything in the scene sharp.
When choosing the proper lens, keep in mind the distance between the subject and your camera. The closer you are to the subject, the shallower the depth of field will be. The same goes for zoom lenses. Getting a high depth of field is crucial when shooting product photography. The longer the distance between the camera and the subject, the deeper the depth of field will be. The distance between the camera and the subject should be a little less than three times the focal distance of the lens.